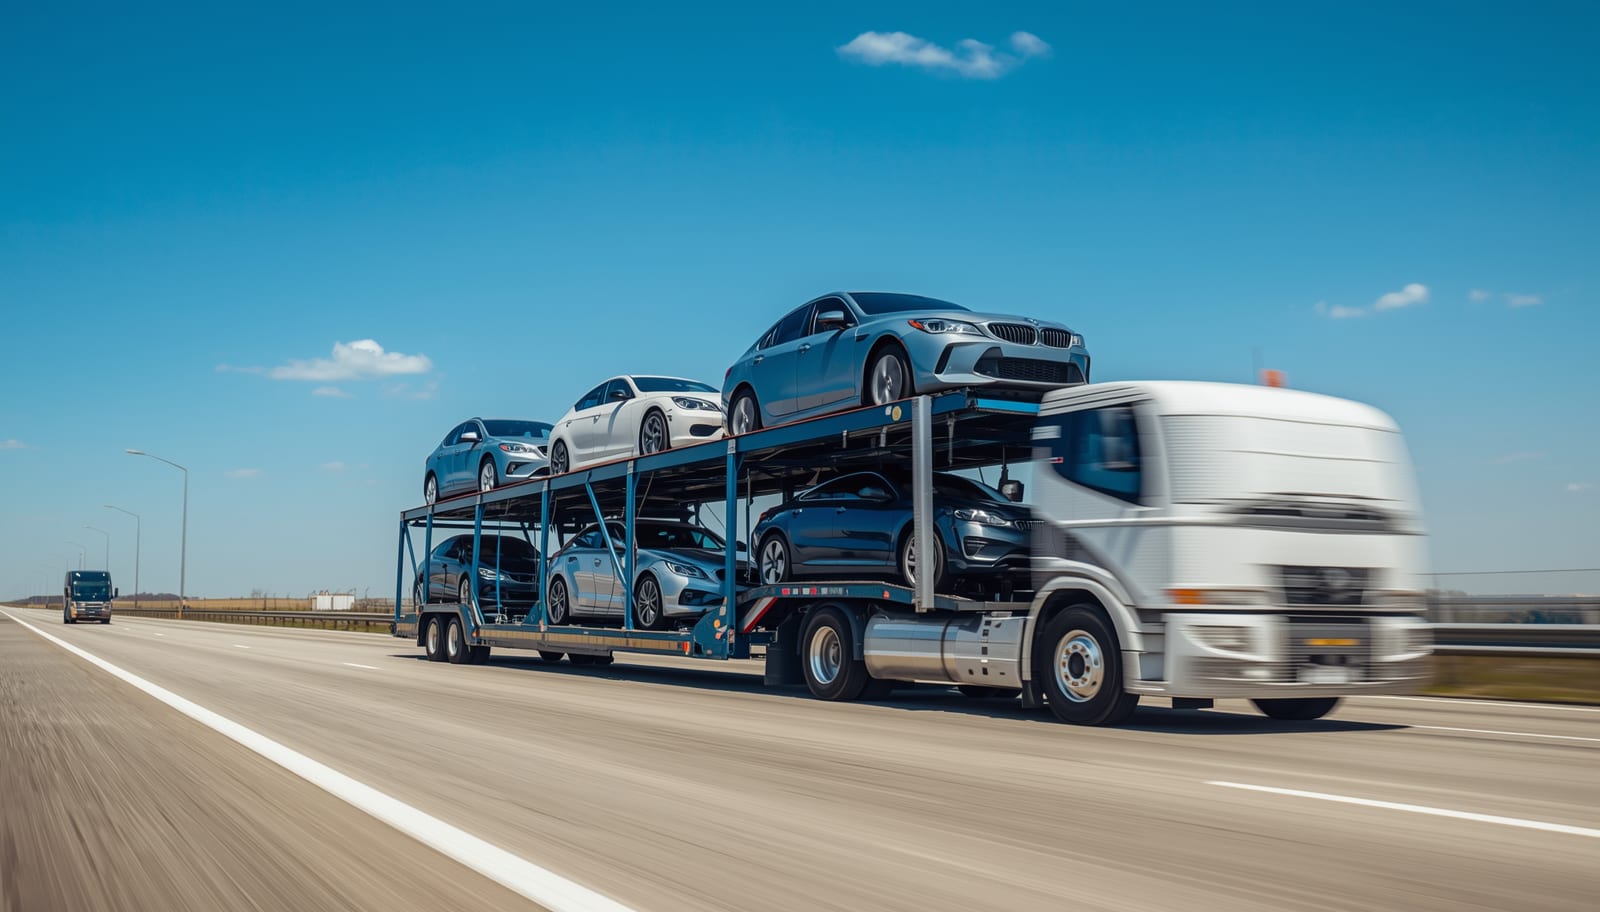
Most auto transport problems that get escalated into disputes — claims about damage, arguments about pre-existing conditions, pickup delays — trace back to inadequate vehicle preparation before pickup. A carrier arrives at your door to load your vehicle, the condition inspection happens quickly, and if you have not documented your vehicle thoroughly beforehand, you are in a weaker position if anything goes wrong during the 1,000-mile crossing.
Preparing your vehicle properly takes about two hours. It is time well spent. This checklist covers documentation, mechanical prep, interior prep, exterior prep, and what to do on pickup day itself.
Step 1 — Document Everything With Photos
Photograph your vehicle before the carrier arrives. This is the single most important thing you can do to protect yourself during transport.
What to photograph: All four sides of the vehicle at a 45-degree angle from each corner. Close-ups of every existing scratch, chip, ding, dent, or paint imperfection — no matter how small. The roof. The front and rear bumpers. The door edges (a common ding location). The wheel wells. The underside if accessible and if the vehicle is low-clearance.
How to photograph: Use your phone in good natural daylight — not in a dark garage. Date-stamp is applied automatically by most phone cameras. If your phone does not embed timestamps, take a photo of a newspaper or your phone's clock screen in the same session. Sunlight at an angle reveals paint imperfections that flat indoor lighting misses — take advantage of this.
Where to store photos: Back them up immediately to cloud storage (Google Photos, iCloud) before pickup. Do not rely solely on photos stored only on your phone — if you need to reference them weeks later for a claim, having cloud backup ensures they are accessible.
Why this matters: The Bill of Lading condition inspection at pickup is the official record of your vehicle's condition. If a driver misses noting a pre-existing scratch and you have not photographed it, a dispute later becomes your word against the carrier's Bill of Lading. Timestamped photos taken before pickup resolve most disputes in the owner's favor quickly.
Step 2 — Mechanical Preparation
Your vehicle must be in driving condition for auto transport — it needs to drive onto and off the carrier trailer under its own power. If your vehicle is non-running, notify your broker at booking so a winch-equipped carrier can be assigned. Disclosing a non-running vehicle after a standard carrier arrives creates significant complications.
Fuel level: Keep the tank at one-quarter full or less. This is standard auto transport protocol for two reasons: it reduces vehicle weight (fuel weighs approximately 6 pounds per gallon), and it meets carrier safety requirements. A full 20-gallon tank adds 120 pounds unnecessarily.
Tire pressure: Check all four tires and inflate to the manufacturer's recommended PSI. Underinflated tires can be damaged during the loading and securing process. Ensure the spare is also properly inflated if it is a full-size spare.
Battery: Ensure the battery is fully charged and in good condition. The carrier will need to start the vehicle at pickup for loading, and again at delivery for unloading. A dead battery on a carrier in the middle of a highway crossing is a serious problem.
Fluid levels: Check oil, coolant, and brake fluid. You do not need to change fluids before transport, but dangerously low levels — particularly coolant — should be addressed. A vehicle with a cooling system issue sitting in desert heat during a summer crossing is a risk.
Leaks: If your vehicle has a known oil, coolant, or transmission fluid leak, disclose it at booking. Significant active leaks that drip on other vehicles on the carrier create liability issues and may result in your vehicle being refused at pickup.
Step 3 — Interior Preparation
Remove all personal items: Carrier cargo insurance covers damage to the vehicle itself — not personal belongings inside it. This is not a gray area. Remove everything from the interior including: items in door pockets, center console, and glove box; items in the cargo area and trunk; child car seats; garage door openers (remove the remote — do not leave your home opener attached to a vehicle traveling across the country); toll transponders (EZPass, SunPass, etc.); any medications, electronics, or valuables.
Weight limits: Most carriers have a 100-pound limit on personal items left in the vehicle's cargo area. Some permit a small amount of household goods in the trunk during a relocation move. Ask your broker for the specific carrier's policy if you intend to use this allowance.
Sun shades and interior items: Remove dashboard sun shades. Remove any hanging items from mirrors. Ensure nothing is loose inside the vehicle that could shift and damage the interior during transit vibration.
Convertible tops: Ensure soft convertible tops are fully latched and secured. Highway wind at 65 mph sustained for days can stress convertible top seams. Hard top convertibles should be in the closed, locked position.
GPS and aftermarket devices: Remove any dashcam, GPS unit, or other device mounted on the windshield or dashboard. Suction cup mounts can fail during the vibration of transport.
Step 4 — Exterior Preparation
Wash the vehicle: Wash your vehicle 24 hours before scheduled pickup. This serves one purpose: a clean vehicle makes it possible to identify and document every existing scratch, chip, and imperfection accurately. A dirty vehicle at pickup makes the Bill of Lading condition inspection less accurate, which weakens your position if damage is disputed later. Do not wax or detail the vehicle immediately before pickup — fresh wax can interfere with the strapping.
Retract or remove the antenna: If your vehicle has a retractable antenna, retract it fully. If it is a fixed antenna, note that many open carriers have height clearance of approximately 7 feet on the upper deck — a tall antenna on an already elevated vehicle can create clearance issues during loading.
Remove or secure exterior accessories: Roof racks, bike racks, ski racks, and cargo carriers should be removed before pickup if possible. If they cannot be removed, ensure they are fully secured. Loose aftermarket accessories at 65 mph on an open carrier create risks for your vehicle and others on the load.
Disable and note the alarm: Disable any aftermarket vehicle alarm. Factory alarms typically do not trigger from transport vibration, but aftermarket systems — particularly sensitive perimeter or tilt alarms — can be triggered by the trailer's movement. An alarm going off continuously on a carrier in rural Nevada at night is a serious problem for the driver.
Custom body work and lowered vehicles: If your vehicle is lowered, has aftermarket ground effects, or has unusually low front-end clearance, notify your broker at booking. Some standard loading ramps may contact very low vehicles during the approach — a lift gate-equipped carrier may be necessary.
Step 5 — Pickup Day Protocol
Be present: You or an authorized representative must be present at pickup to sign the Bill of Lading. Do not arrange a pickup where the carrier has access to your vehicle without your presence. The Bill of Lading condition inspection is a legal document — you need to be there to review it.
Walk the vehicle with the driver: The driver will conduct a condition inspection before loading. Walk the entire vehicle with the driver — all four sides, roof, bumpers, and under the vehicle if possible. Verify that every pre-existing imperfection you photographed is noted on the Bill of Lading. If the driver misses something, point it out and ask for it to be added before signing.
Read the Bill of Lading before signing: Do not sign a Bill of Lading you have not read in full. The condition noted at pickup is the baseline against which delivery condition will be compared. If the condition noted is inaccurate — either missing existing damage or incorrectly noting damage that does not exist — correct it before signing.
Keep a copy: Keep a copy of the signed Bill of Lading. You will need it if you need to file a claim, and it is also useful to reference when conducting your delivery inspection.
At Delivery — The Final Inspection
When your vehicle arrives at the destination, conduct a thorough inspection before signing the delivery Bill of Lading. Compare the vehicle's condition against your pre-pickup photographs and against the pickup Bill of Lading.
Note any new damage on the delivery Bill of Lading before signing. Once you sign a clean delivery Bill of Lading, filing a successful damage claim becomes significantly harder. If the driver is pressuring you to sign quickly, take the time you need. A 10-minute delivery inspection is worth the friction.
Conduct the inspection in adequate light — if the vehicle arrives at night in poor lighting, it is reasonable to request a daylight inspection or to note on the delivery Bill of Lading that the inspection was conducted under limited lighting. Do not sign a damage-free delivery document if you could not properly inspect the vehicle.
Related Articles

Auto Transport Insurance: What Is Actually Covered (And What Is Not)
How Much Does It Cost to Ship a Car in 2026?